Shimano Deore cassettes consist of a number of individual sprockets, separated by plastic spacers, and then one or two separate sprockets on the far end just before the lockring. The sprockets and spacers are held together with three rivets to make loading the assembly onto the freehub easier.
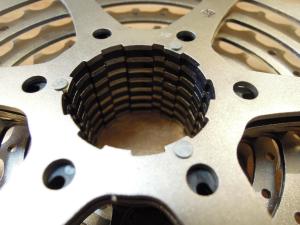
You can see the heads of the three rivets here:
In order for us to mix and match the sprockets the riveted assembly needs to be dismantled. This is easily achieved by grinding the head off each of the three rivets. I took care of mine with a Dremel. A stone wheel took the head off the rivet, and then the ball shaped grinder thingy took a little more off so that the expanded rivet head would slip through the sprockets.
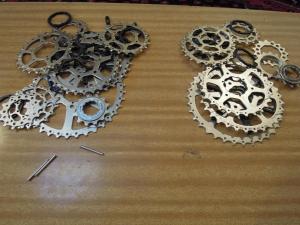
And then you have this mess:
Once you’ve separated all the sprockets just pick out the gears that you want and appropriate sized spacers.
My selection of gears – 13-15-16-17-18-21-24-28-32
Some of the spacers with the extended arms won’t line up with the sprockets from the “opposing” cassette so it’s a matter of trial and error sliding the gears and spacers onto a freehub until it all looks correct.
Note that the end sprockets with an integrated spacer come in two types, with and without a serrated surface. The serrated ones are designed to mesh with the lockring, but I used a non serrated 13 tooth one on my cassette because my Miche first position sprocket hasn’t arrived yet. I don’t think it will come loose.
My cassette assembled on a hub that I had lying around. Note the close ratios in the higher gears and gradual increase in gear size as you get into granny territory. Also note in the background the plastic spacer that I broke in my haste.
Installed and ready for testing


